
Cookbooks
Never Say Never to Dolce
A brand-new collection of 50 approachable homemade desserts – from iconic Cannoli to Dolci al Cucchiaio and more – that proves there’s always room for a little sweetness.
Manuela’s Sweet Temptations
A collection of 50 irresistible dessert recipes, from classic Italian treats to modern favorites—including gluten-free options.
The Complete Italian Cookbook: Essential Regional Cooking of Italy
A collection of 50 irresistible dessert recipes, from classic Italian treats to modern favorites—including gluten-free options.
How to Make these Easy-to-Decorate Chicks Easter Cookies
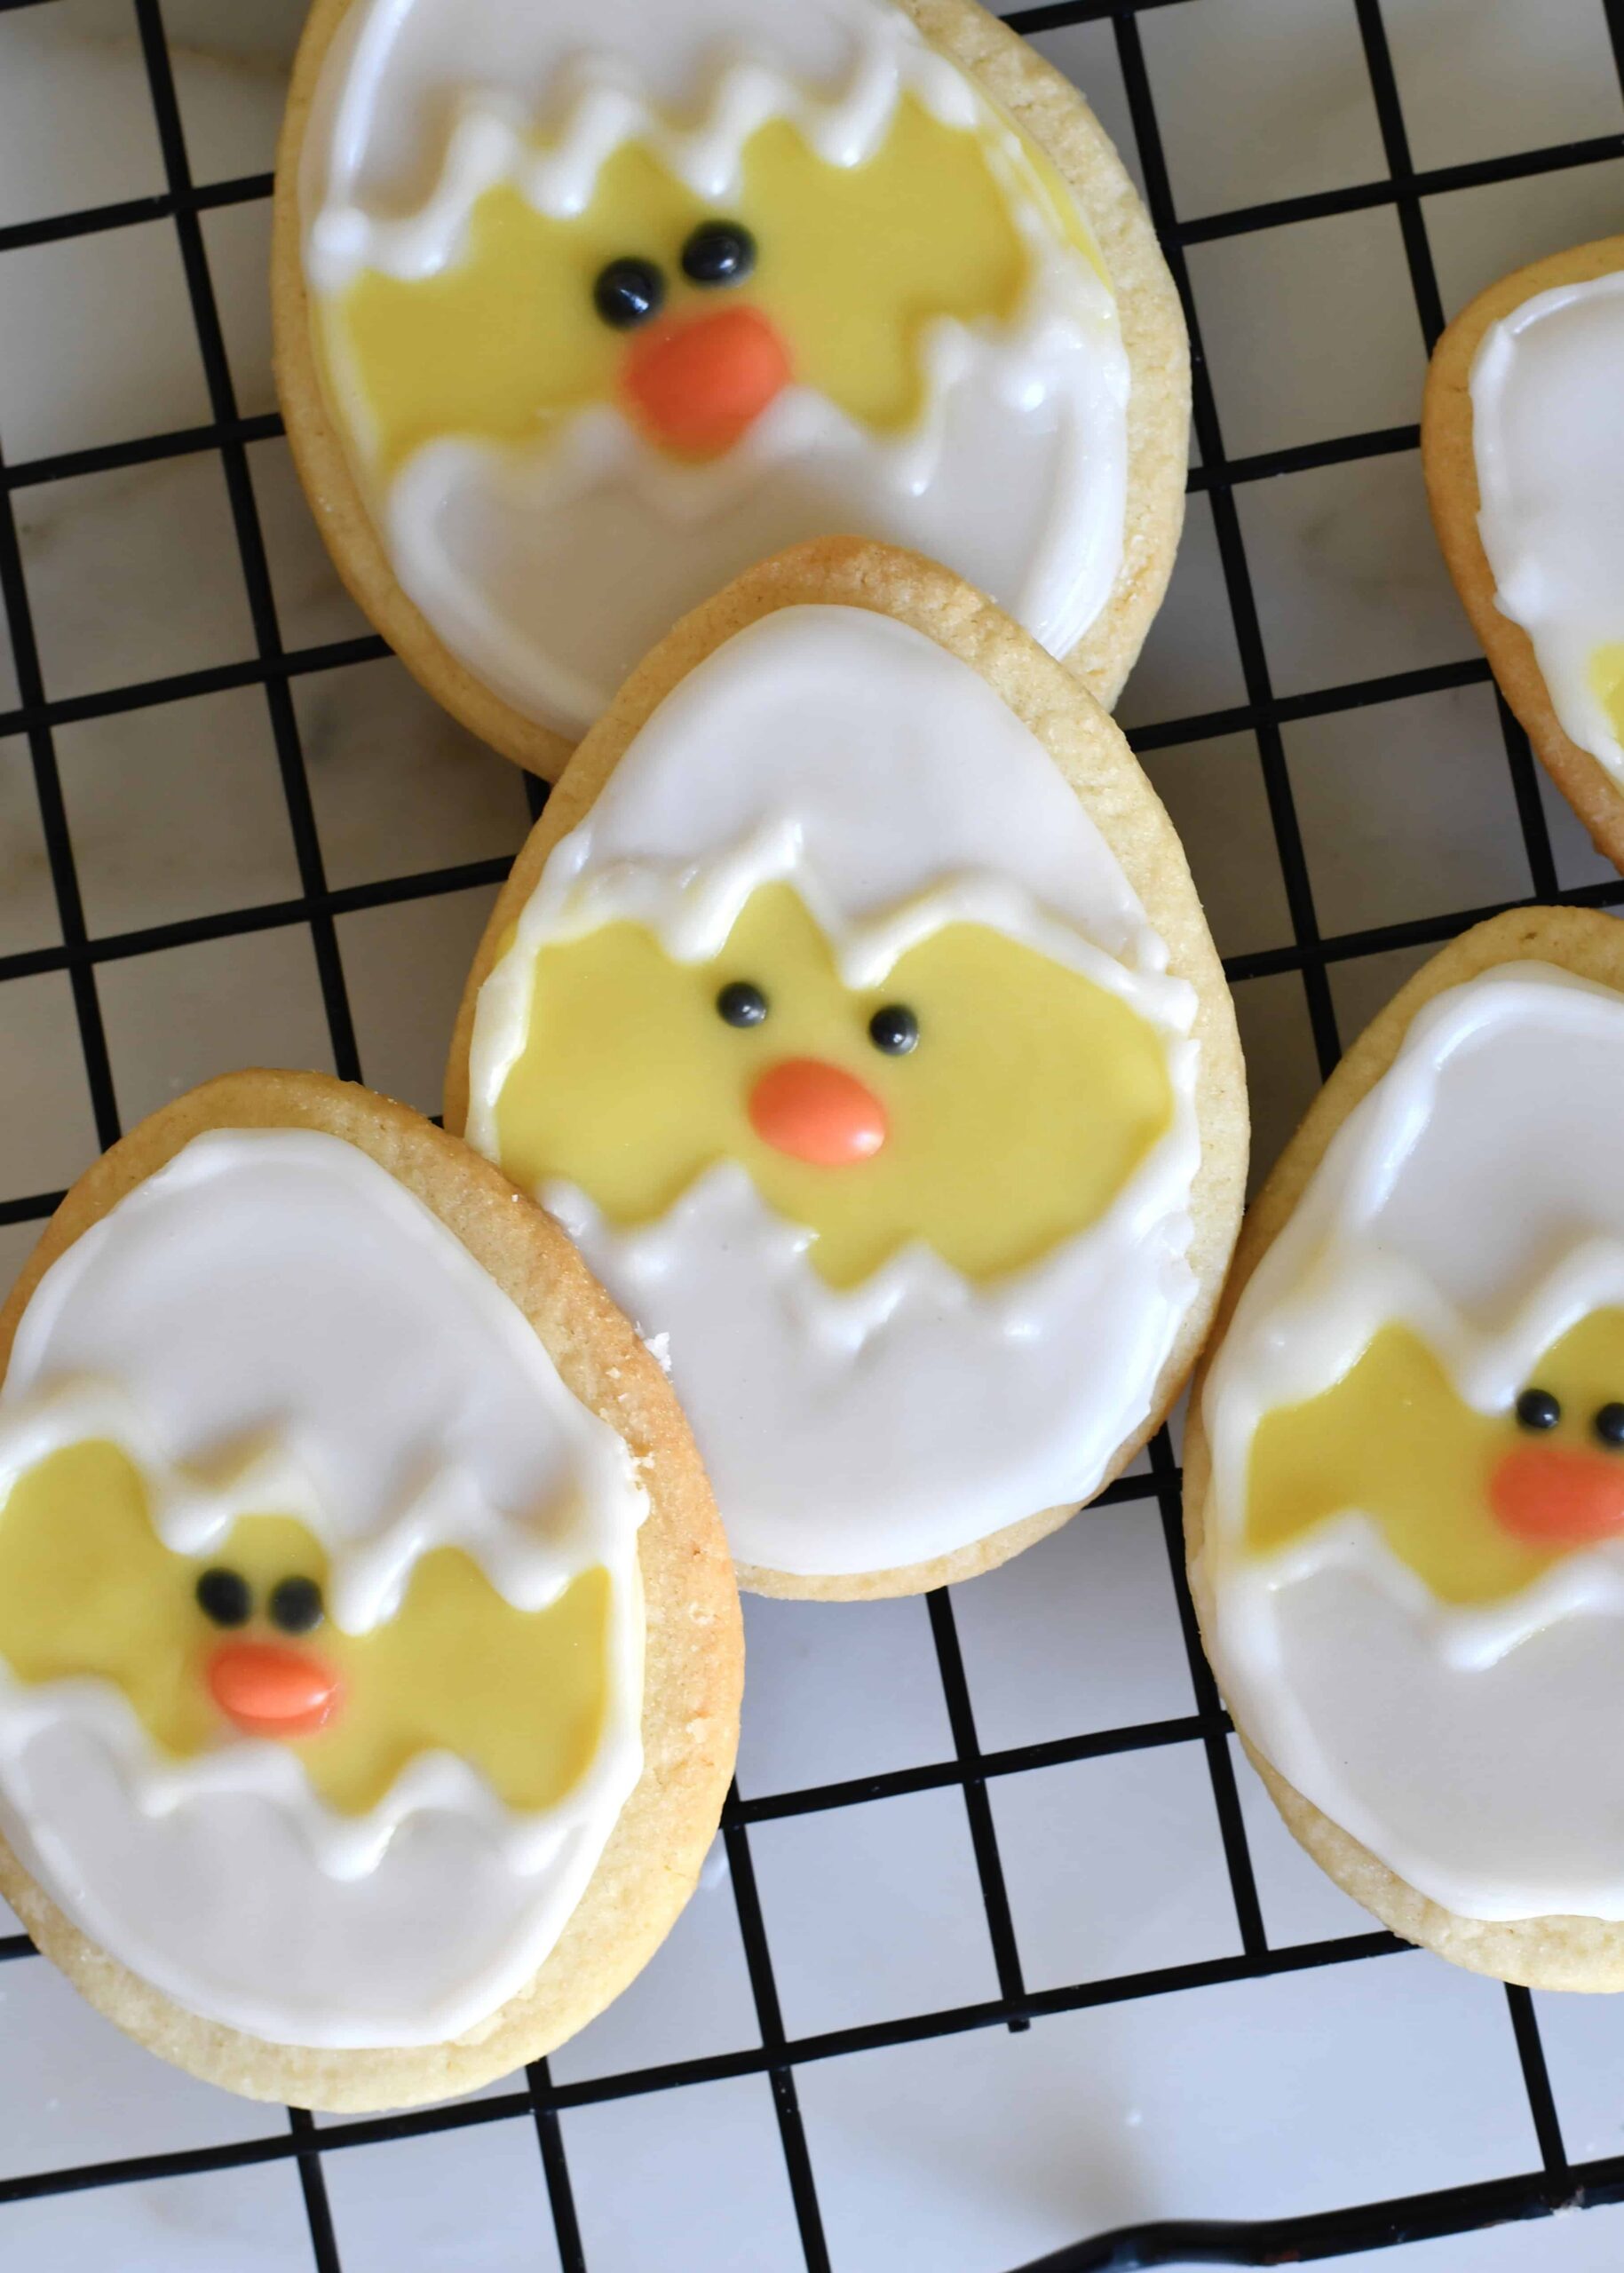
Cute and easy to decorate chicks sugar cookies all dressed up for Easter
It’s so easy to get into spring spirit when baking – and EATING! – these butter and flaky sugar cookies … all dressed up as cute chicks. Perfect for Easter!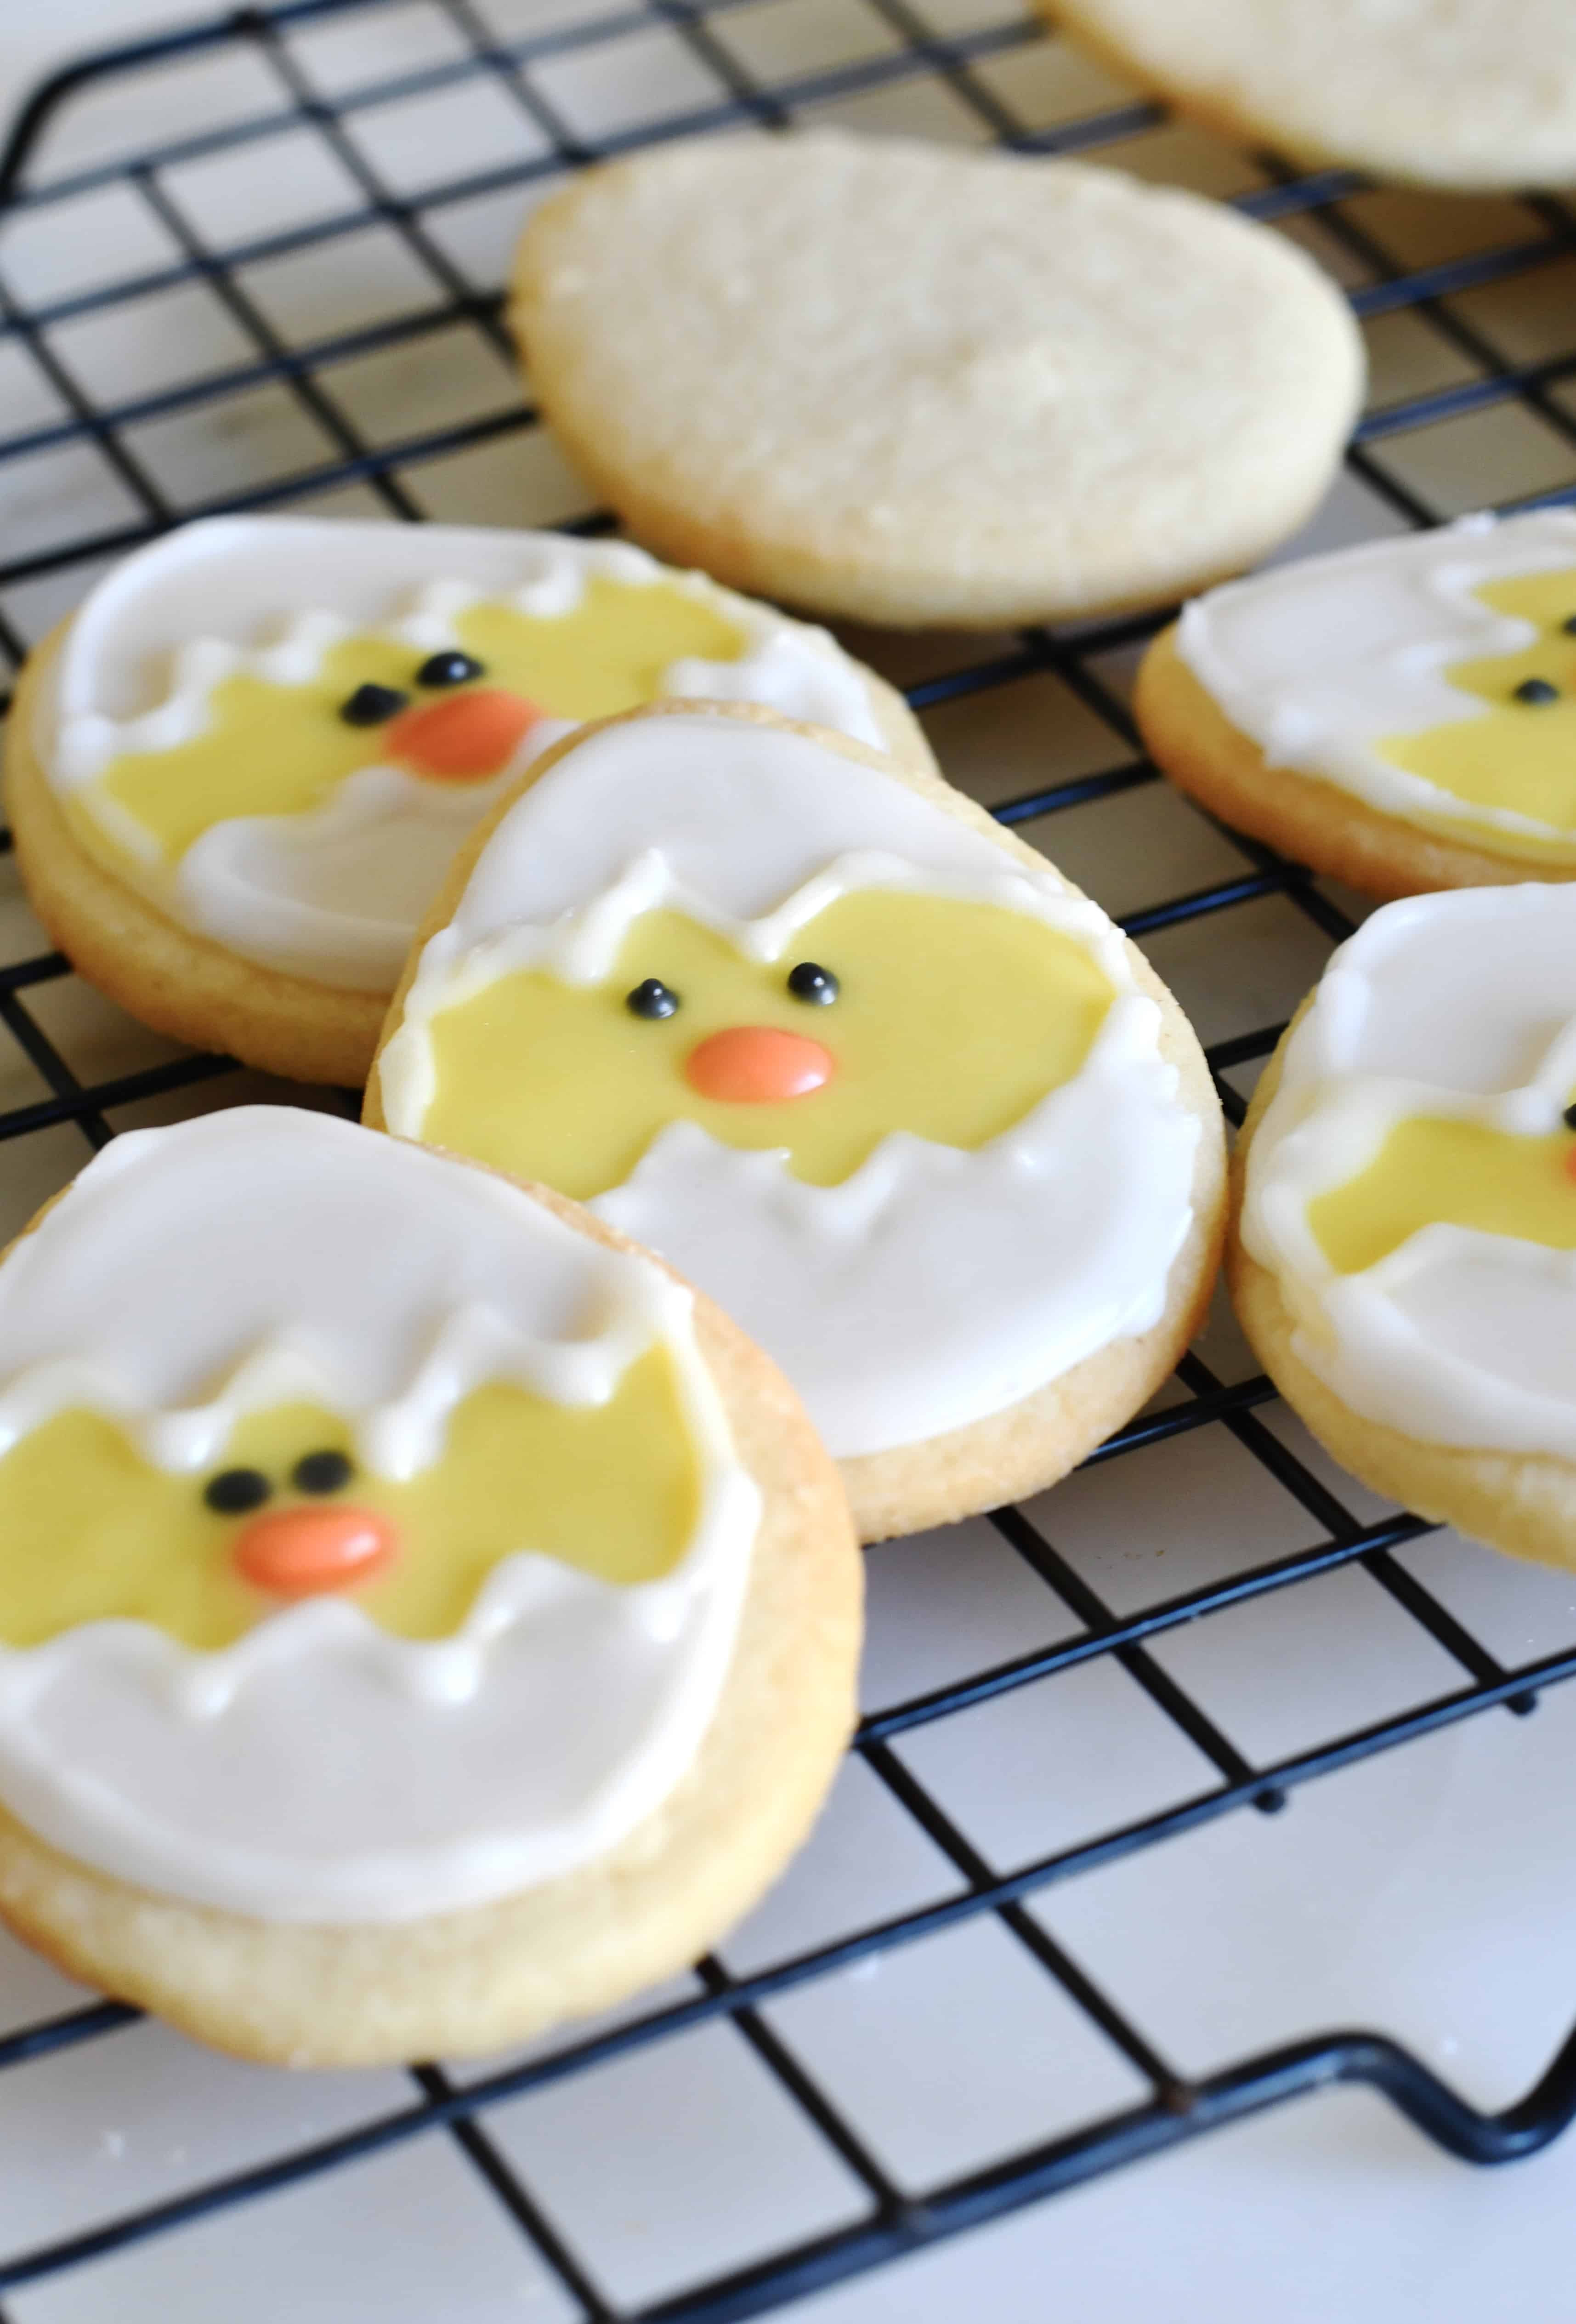
Here are is basic, fool-proof recipe for irresistible sugar cookies, and an easy ways to decorate them.
For these Easter cookies I’m using an egg shaped cookie cutter. But you are welcome to use any oval (or maybe round) cookie cutter too.
These are the Easter cookie cutters I have.
These sugar cookies are perfect not just to enjoy for breakfast or snack, but also make delicious gift idea all wrapped up in some festive paper.

Here are some tips for you when baking these cookies.
First of all: Most (other!) recipes say to refrigerate the dough before you roll it out and cut into shape, but why?!?!
It’s so much harder to roll once it’s cold. So here is what I do. Roll when still soft, and preferably on a piece of parchment paper or a silicone mat.
Refrigerate (or freeze if you don’t have much time to wait around) and cut into cookies. The edges will be perfect and the cut cookies will be so easy to move to the baking sheet without loosing their perfect shape!
Make sure to keep the cookie dough chilled. If it’s taking you too long to cut, chill them again so they won’t over-spread and loose their shape in the oven.
Roll out the cookie dough to about 1/4 inch to 1/6 inch thickness. Adjust baking time based on the size and thickness. Anywhere between 10 to 15 minutes.
Oh, one more thing. Don’t forget to roll out the scraps and make more cookies. And if you need, simply double up the ingredients and make even more.

To make the simple icing to decorate:
NOTE:
Now, let’s get baking 🙂
How to Make these Easy-to-Decorate Chicks Easter Cookies
Cute and easy to decorate chicks sugar cookies all dressed up for Easter
Servings:
16
Prep Time
30 min
Cook Time
12 min
Resting Time
30 min
Total Time
1 hr, 12 min
Ingredients
For the cookies
- 4 oz (115 gr) unsalted butter, softened
- 1/2 cup (100 gr) sugar
- 1 large egg
- 1 teaspoon vanilla extract
- 1/4 teaspoon almond extract
- 1 1/4 cups (150 gr) all-purpose flour
- 1/4 teaspoon salt
For the icing
- 2 cups powdered sugar
- 1/2 teaspoon almond extract
- about 4 tablespoons water
- yellow, red , black food coloring (to make the yellow and orange)
Instructions
- Soften the butter by removing it from the refrigerator about 30 minutes before starting with the recipe.
- In a bowl, add the butter cut in small pieces and the sugar. Cream with a hand mixer until light and fluffy.
- Add the egg, almond and vanilla extracts and mix well.
- Scrape the bowl, add the flour and salt, and mix until the dough comes together. Knead with your hands if needed until smooth.
- Move onto a parchment paper or silicon baking mat lightly sprinkled with flour. Roll out to about 1/4 to 1/6 inch thick (4 mm). I covered with another sheet of parchment paper before rolling out. Place on a baking sheet and refrigerate for at least 30 minutes. If you are in a rush you can freeze for 10 minutes.
- Preheat the oven to 350F (180C). Line a baking sheet with parchment paper. Cut into egg shapes with a cookie cutter. Bake for 10 to 12 minutes, depending on thickness and size, until the bottom edge is lightly golden.
- Let cool down before decorating: Sift the powdered sugar in a bowl, add the almond extract and some of the water. Mix well until smooth.
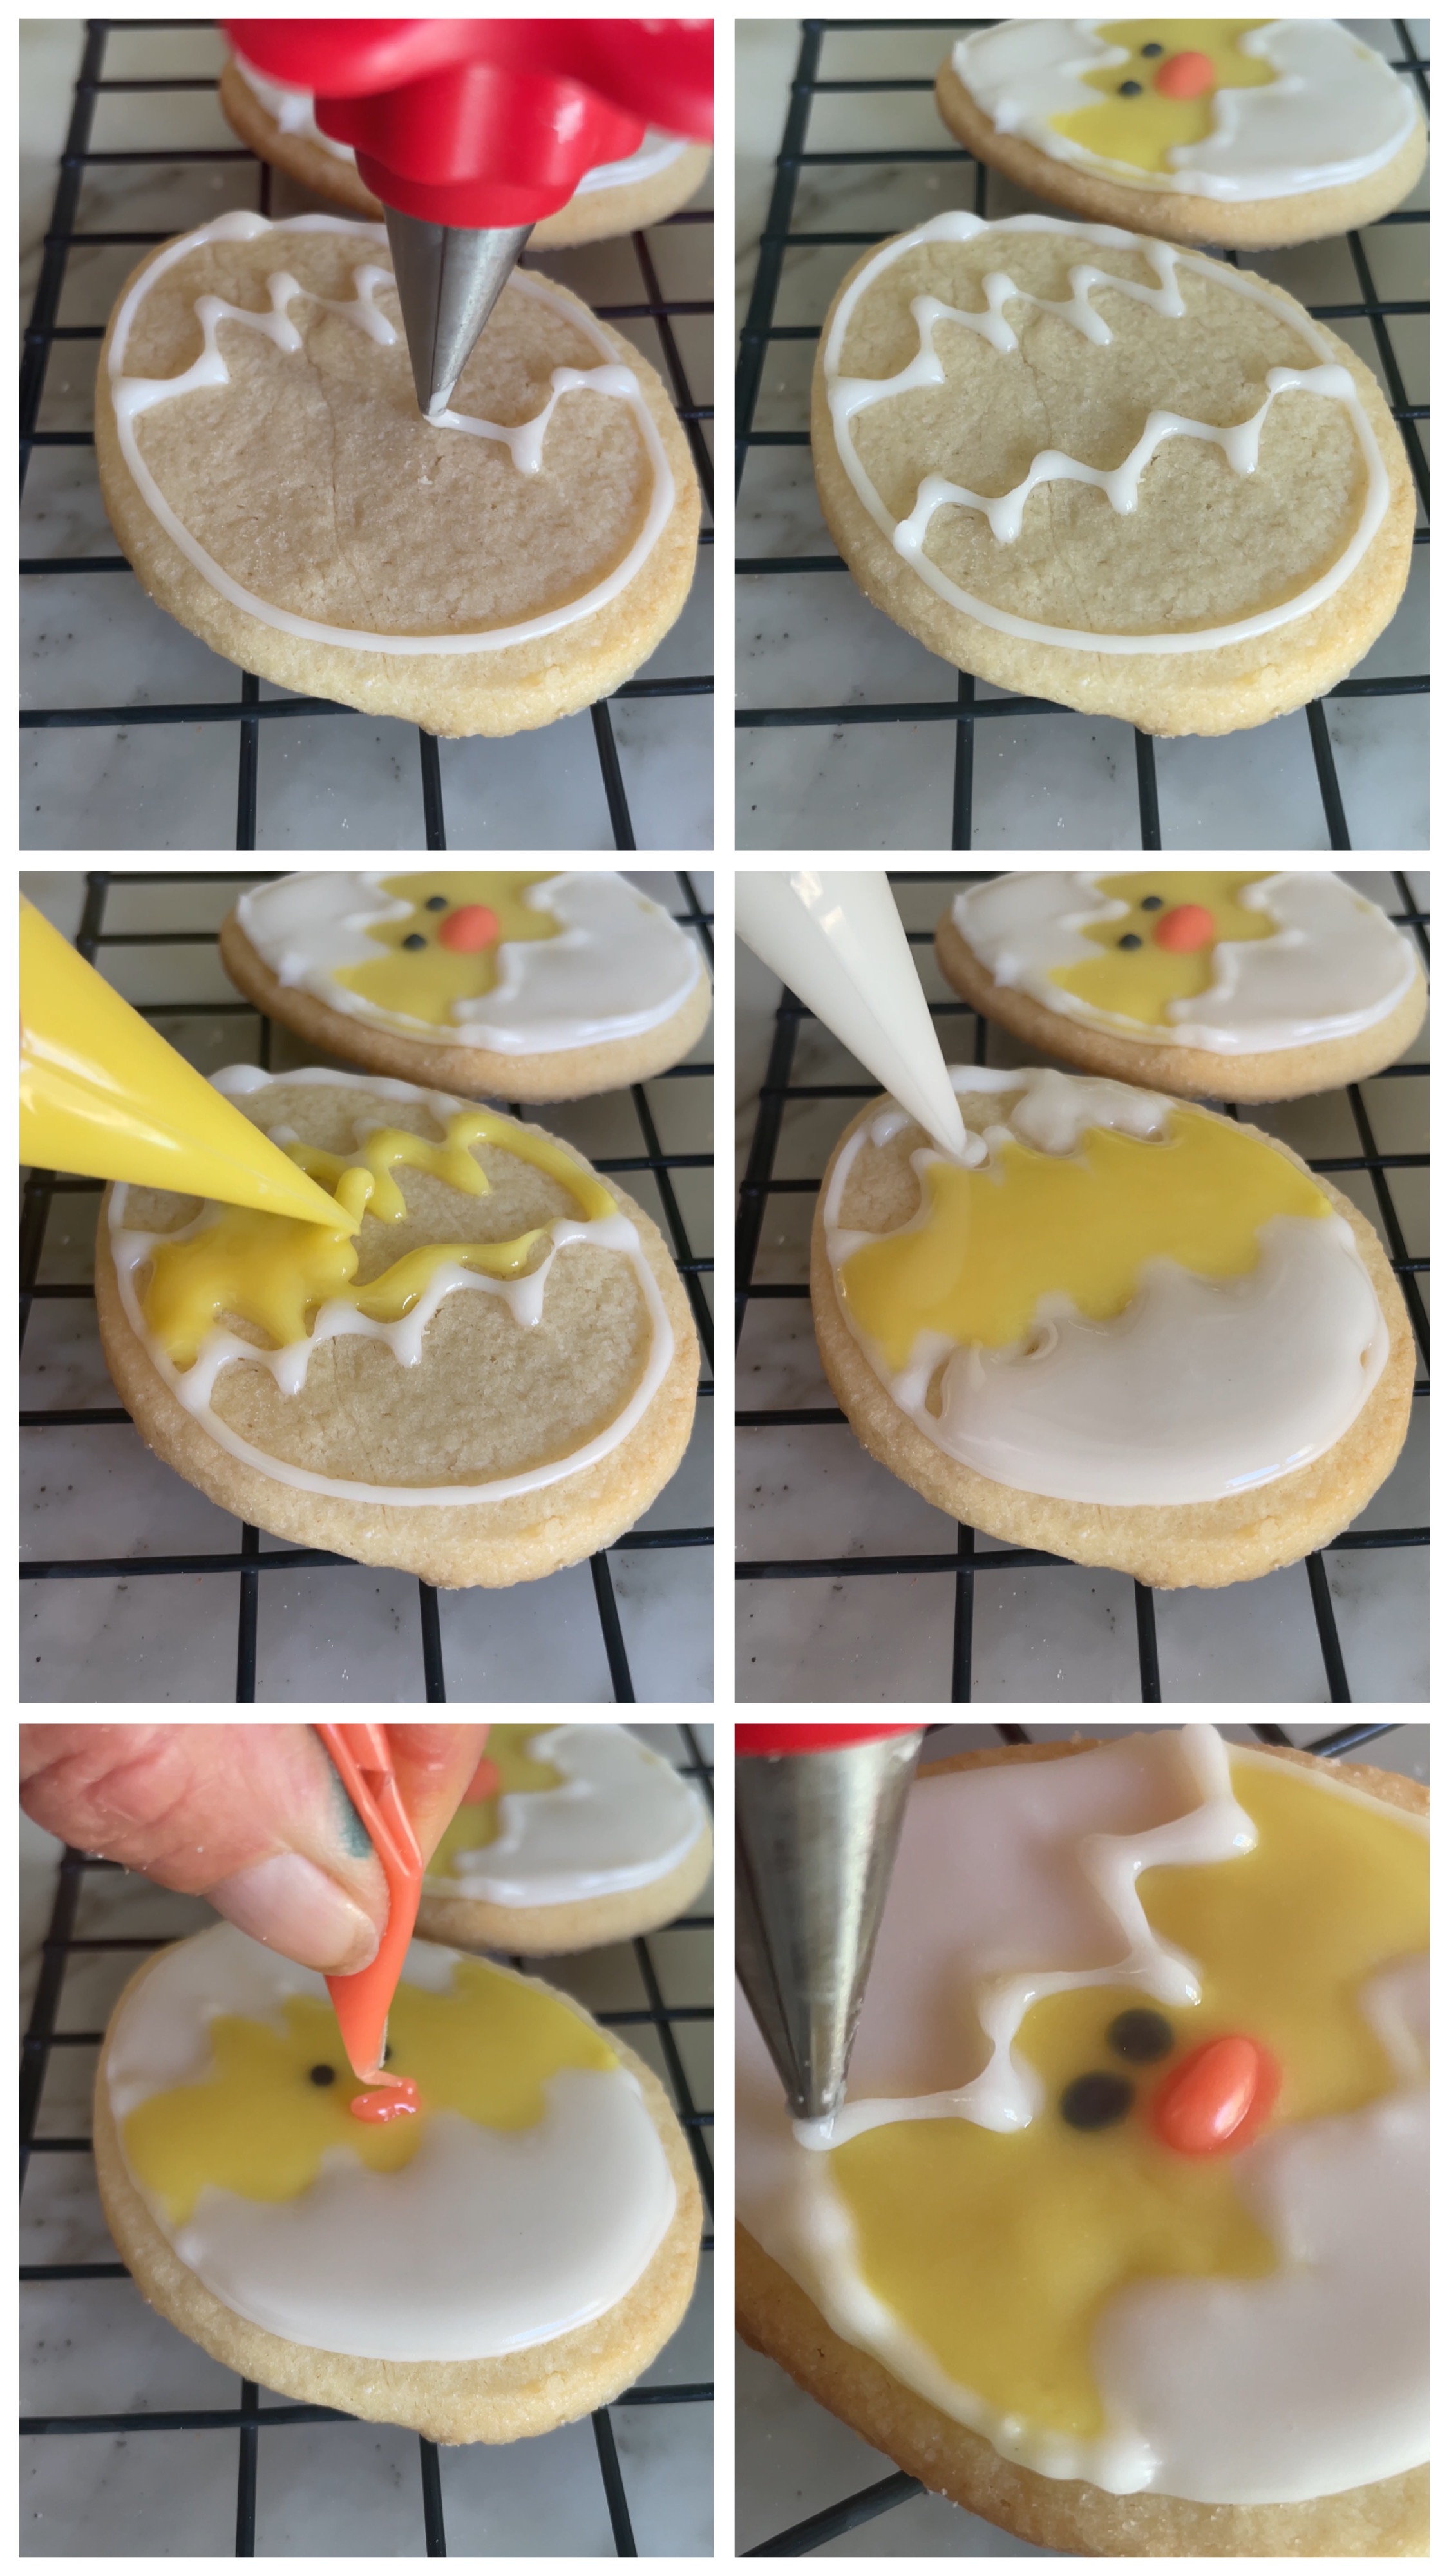
- You need some thicker white icing to make to pipe the edges (I use a number 2 tip with a squirt bottle or bag). Spoon some of this icing in two different bowls. One bowl: add some water to make the white flooding icing. Second bowl: add some water and a drop of yellow coloring to make the yellow flooding icing. Take a tiny bit of the yellow icing and place in a separate bowl, and add with the tip of a toothpick some red to make the orange for the chick beak.
- Pipe the white edges as shown in my video. Fill with the white and the yellow icing. When slightly dry, pipe the eyes (with black icing) and the orange mouth. Let dry for five minutes and if you like, pipe the white edges again for a thicker edge like I did. This step is optional but I think makes for a better decoration.