A smiling woman with long brown hair rests her hands on a cookbook titled Never Say Never to Dolce, which features her photo on the cover. A silver vase with orange flowers sits on the counter in front of her.

Cookbooks

Never Say Never to Dolce

A brand-new collection of 50 approachable homemade desserts – from iconic Cannoli to Dolci al Cucchiaio and more – that proves there’s always room for a little sweetness.

Manuela’s Sweet Temptations

A collection of 50 irresistible dessert recipes, from classic Italian treats to modern favorites—including gluten-free options.

The Complete Italian Cookbook: Essential Regional Cooking of Italy

A collection of 50 irresistible dessert recipes, from classic Italian treats to modern favorites—including gluten-free options.

How to Make a Melting Chocolate Dome Dessert Tutorial

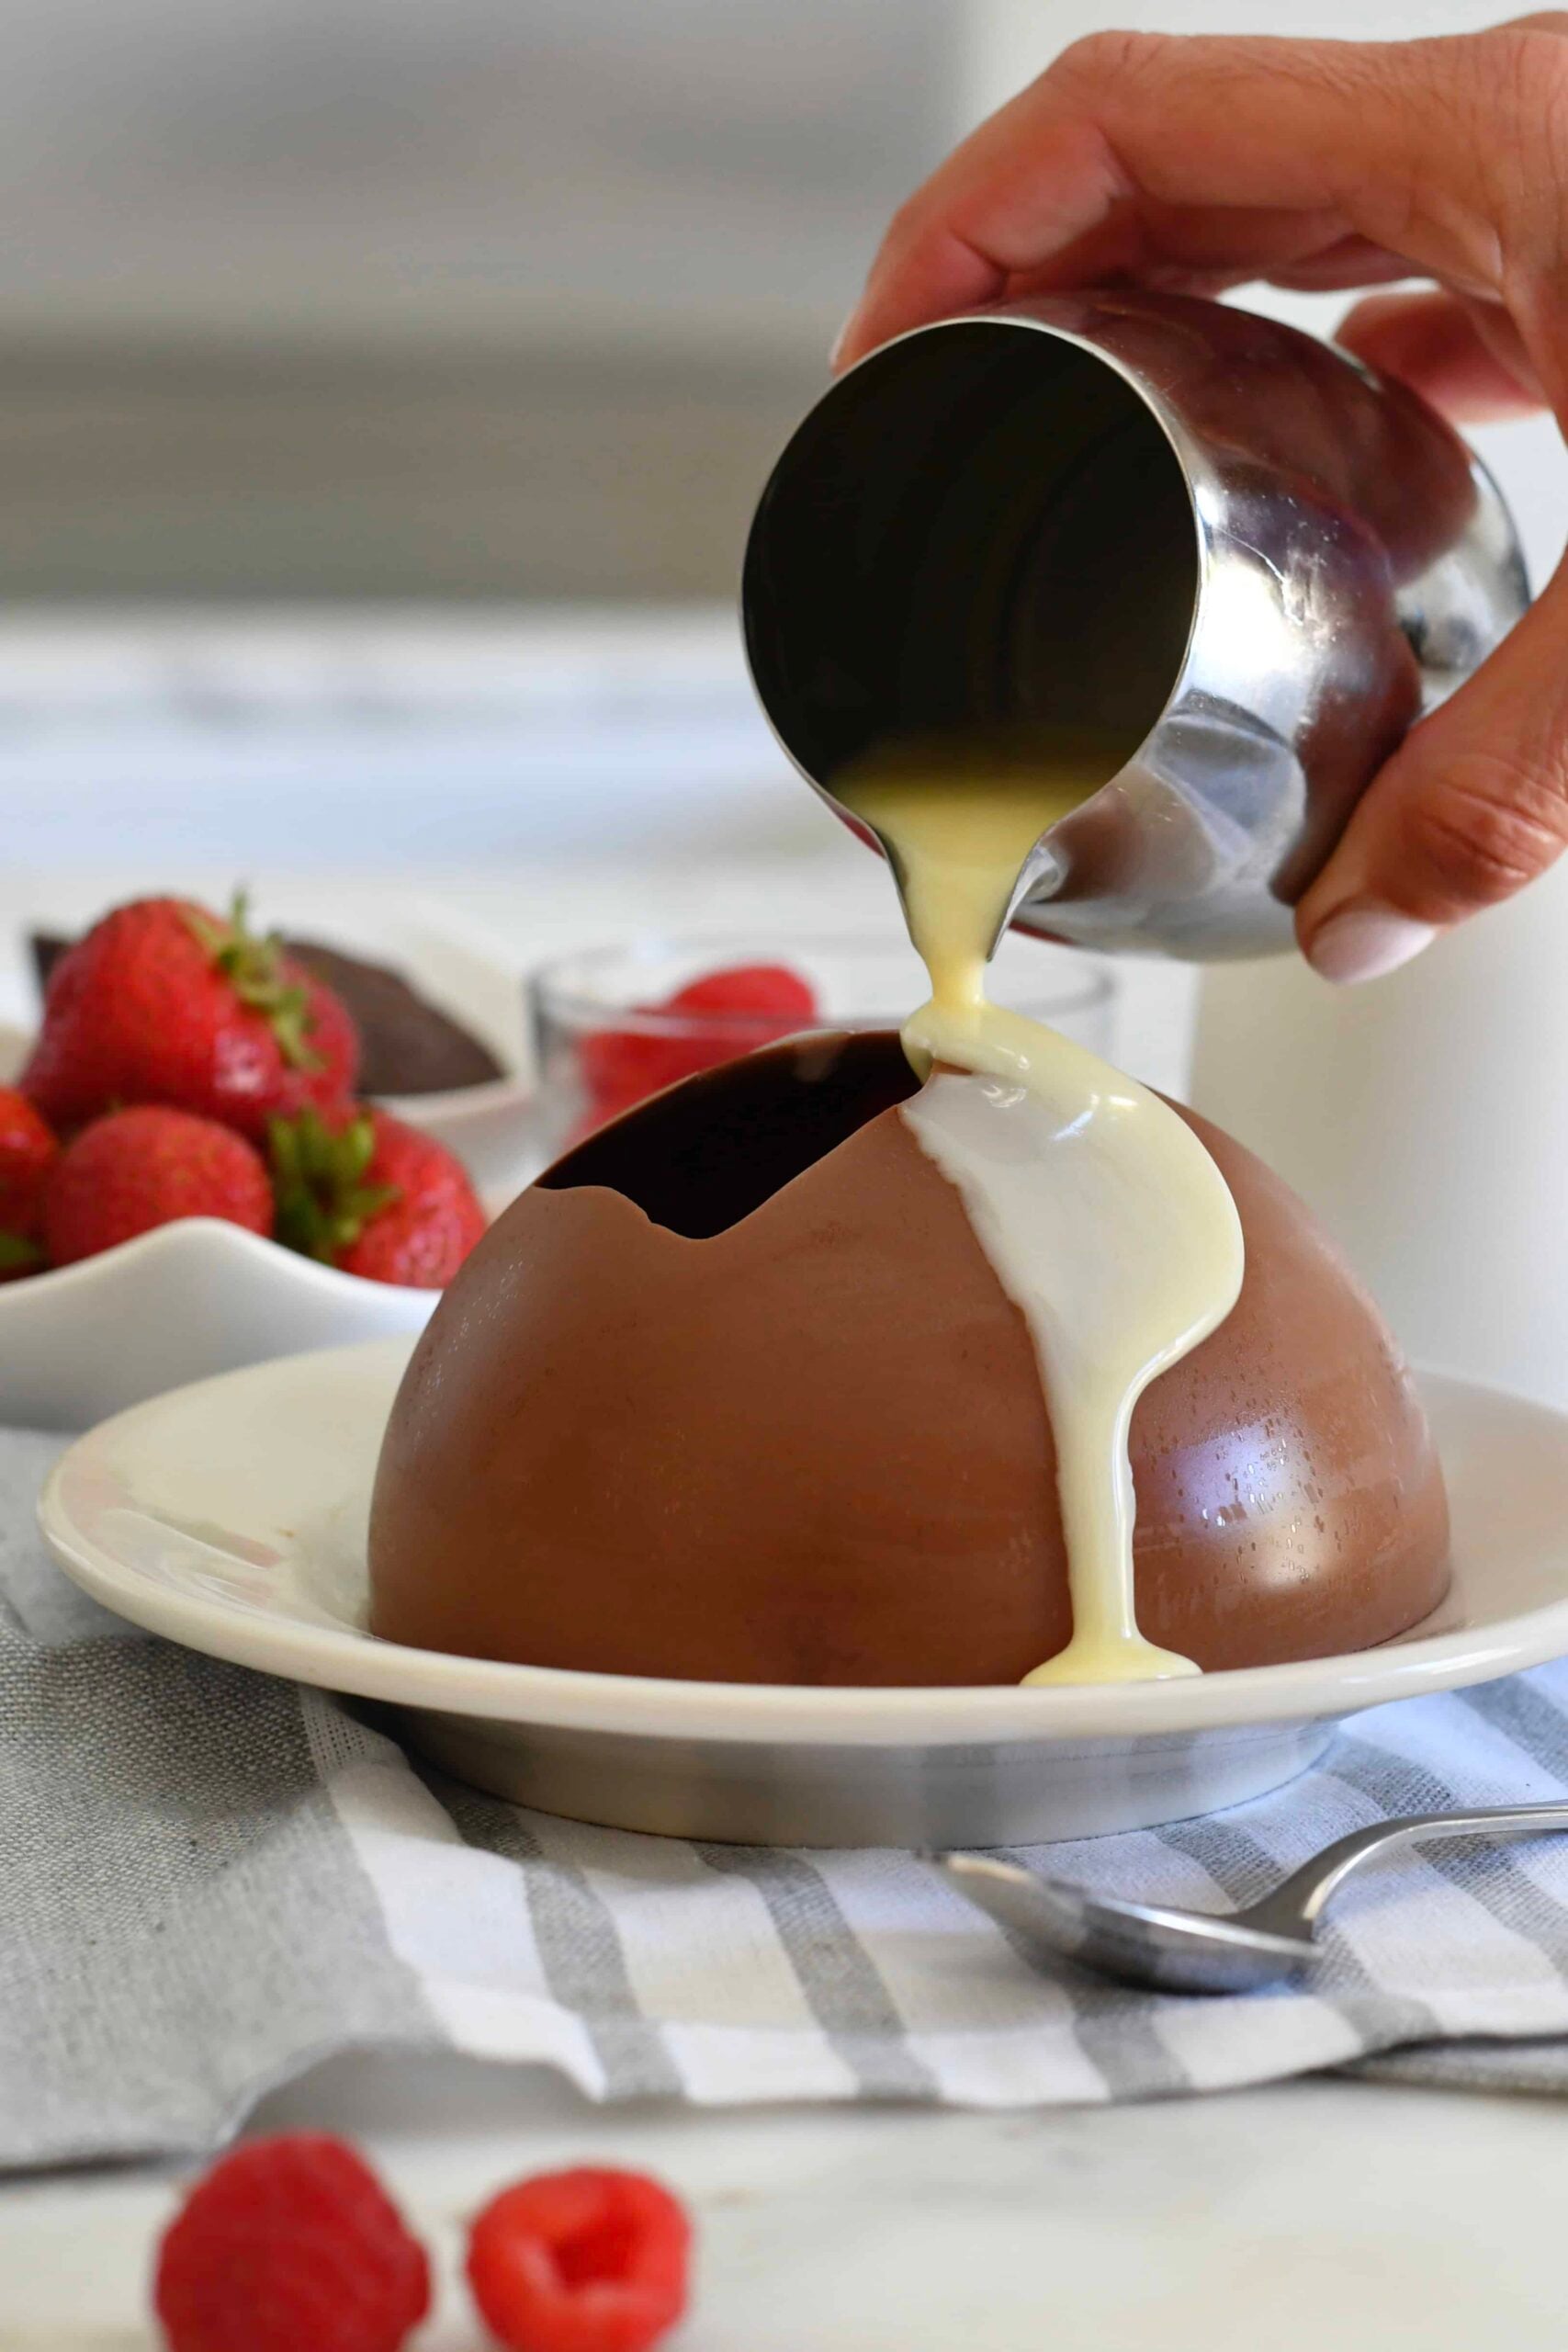
This is what chocolate dreams are made of: the perfect milk chocolate dome drizzled with white chocolate sauce to reveal a stack of brownies and fresh raspberries inside. Perfect to impress your guests or that special someone!

Print Recipe

Indulging in a show-stopping chocolate dome dessert is easier than you think!


In today’s tutorial, I’ll walk you through the simple steps to create a stunning chocolate dome, made with rich milk chocolate. Drizzled with warm white chocolate sauce, this dessert magically melts away to reveal a decadent combination of fudgy brownies and fresh raspberries underneath.


Whether you’re looking to wow at a dinner party or simply treat yourself to a decadent dessert, this tutorial breaks down the process so anyone can create this sweet masterpiece right at home.

melting chocolate dome tutorial


Tips for success when making this chocolate dome dessert:


  • Use high-quality chocolate: For the best results, use high-quality chocolate bars rather than chocolate chips, for better flavor and perfect texture. 
  • Chocolate melting: Be careful not to overheat the chocolate in the microwave. Short bursts of time at lower power help prevent it from burning. Stir frequently to achieve a smooth consistency.
  • Perfect coating: When coating the sphere mold, rotate and shake it gently to ensure the chocolate covers the entire surface evenly. This prevents weak spots in your dome.
  • Freezing the dome: This is by far the most important step. Let the dome fully set in the freezer until the mold looks cloudy. If it isn’t completely frozen, it won’t release from the mold smoothly. Make sure to handle the chocolate dome gently, as it’s fragile.
  • Serving: Pour the hot white chocolate sauce over the dome slowly to create that dramatic melting effect. It adds an interactive and impressive element to your dessert.
melting chocolate dome tutorial

What I love the most about this recipe, is that it’s very versatile. You can fill it with raspberries and brownies like I did, or just a simple scoop of ice cream and strawberries. Or why not, mix up the white and the dark chocolate.


So here are some suggestions if you’d like to change this recipe up:

  • Use silicone molds: You can use the plastic ornament like I did (Amazon link) OR for easier unmolding, you can opt for smaller half-sphere silicone molds. These allow you to easily pop out the domes without the risk of cracking. This is the one I have bought from Amazon.
  • Filling ideas: For a surprise inside, you can place a scoop of ice cream or some extra fruit inside the dome.
  • Sauce options: Instead of the white chocolate sauce,  you can use dark chocolate, or warm caramel sauce for a different flavor profile.
  • Garnishing: Decorate your plate with more berries,  mint leaves, or whipped cream for an elegant touch.
melting chocolate dome tutorial

Whether you’re serving this dessert at a special gathering or making it as a fun project with family and friends, these tips will help you create a flawless, elegant treat that everyone will love! Ready to get started? Let’s dive into the tutorial!

melting chocolate dome tutorial


VIDEO RECIPE:


How to Make a Melting Chocolate Dome Dessert Tutorial

0, 0 rating(s)

This is what chocolate dreams are made of: the perfect milk chocolate dome drizzled with white chocolate sauce to reveal a stack of brownies and fresh raspberries inside. Perfect to impress your guests or that special someone!

Servings:

2

Print Recipe Pin Recipe

Prep Time

20 min

Cook Time

2 min

Resting Time

30 min

Total Time

52 min

Ingredients

  • 4 oz (115 g) milk chocolate, chopped
  • 1/2 teaspoon coconut oil
  • 4 oz (115 g) white chocolate, chopped
  • 1/2 cup (120 ml) heavy cream
  • 4 small brownies, for serving
  • ½ cup raspberries, for serving

Instructions

  1. Place the chopped milk chocolate and coconut oil into a glass bowl and melt it in the microwave for about 40 seconds at 70 percent power. Stir and add 10 seconds if needed. Mix until smooth.
  2. Pour inside a large fillable sphere (ornament), close the two halves, and rotate and shake until the inside is completely coated with chocolate. If any empty spaces are visible, rotate and tap them gently to coat.
  3. Place the ball in the freezer and rotate after a minute a couple of times. Let freeze for at least 30 minutes or until the chocolate is fully frozen AND the mold looks completely cloudy. The chocolate dome will not come off the mold unless it’s perfectly set and completely cloudy.
  4. To assemble: Place two small brownie pieces on top of each other and decorate with a few raspberrys. Gently open the ball, and invert one half dome on top of the prepared brownies. Gently tap the mold to release the chocolate.
  5. In a small bowl, add the white chocolate and heavy cream. Microwave for 30 seconds. Mix until smooth.
  6. To serve, pour the hot white chocolate slowly over the bowl. Enjoy!